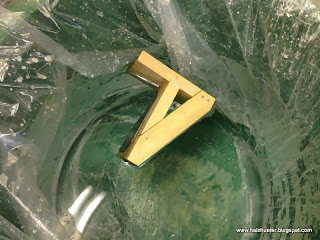
Using the moulding form described in the previous post, the following describes the production of gypsum mouldings.
Prepare work table: A smooth table will provide a clean release of the moulding. Attache straight guides a comfortable working distance from the edge of the table. Also prepare a trough to collect the waste.
Tables with a scratched surface should be treated with a soup-water mix to facilitate release of the moulding.
Draw out the margins of the moulding.
This will provide a guide as to where to apply material.
Attach a string in the center between the two lines. The string provides tensile strength.
Soak form.
Mix gypsum: add 600ml of water to a container.
Slowly add gypsum until the powder reaches the water's surface.
Allow the gypsum to slowly soak up the water without stirring.
If needed, add more water.
Mix gypsum without mixing in air, which would create air pockets or bubbles in the moulding.
Apply material over the edge of the table. As the gypsum hardens, this will anchor the moulding so that it does not move when being pulled.

Apply material over string, between lines.
Pull form along guide, over material.
Move material onto moulding using a scraper or spatula.
Clean
Repeat mixing and pouring
And continue pulling
The process in time lapse.
After completion, cut the edges of the moulding with a utility knife to remove any bond with surrounding gypsum.
Press down on the table with a hammer handle to loosen the bond with table.
Completed mouldings


No comments:
Post a Comment